Firmware versions and Installing firmware for your Gostreamer
*Please note* These are base firmware versions. Meaning that they are to be installed manually by downloading and installing using an SD card. Your GOSTREAMER comes with OTA updater installed. You can also update your box using OTA updater. A guide is found here USING OTA UPDATER
Current ‘base’ firmware versions for GOSTREAMER:
GS-G8 v2.0 Available here Released:28/02/2017
GS-G5 v1.0.3 Available here Released: 06/03/2017
GS-G5+ v1.0.5 Available here Released: 19/05/2017
GS-GSXv1 v1.0.3 Available here Released: 29/07/2016
GS-GSXv2 v1.0.0 Available here Released: 23/03/2017
GS-T8X v1.0.1 Available here Released: 25/03/2017
GSX
**IMPORTANT** If you purchased your GSX before February 20th 2017, you have the GSX version1. If you purchased your GSX after February 20th 2017, you have the GSX version 2, which has a slighly different WIFI module installed. Ensure you install the correct version of firmware.
For GSX install instructions see this post
TX5 PRO
**IMPORTANT!!!** There are two slightly different variants of the TX5 PRO. This is due to a slightly different Wifi module on newer models. If you purchased from us before the 20th March 2017 it is likely you have the 6255 variant.
GS-TX5 PRO – 9377 v1.0 Available here Released: 06/03/2017
GS-TX5 PRO – 6255 v1.0 Available here Released: 06/03/2017
The older wifi module variant is known as the ‘6255’. The newer wifi module variant is known as the ‘9377″.
To tell the difference, turn your TX5 Pro Upside down and look at the serial number.
If your serial number has ‘E77′ anywhere within it, its the newer 9377 variant so use the firmware for 9377.

This guide covers installing firmware for the following GOSTREAMER models.
- GS-G8 ANDROID/LINUX
- GS-G5
- GS-G5+
- GS-TX5 PRO
For GSX instructions see this post
Step 1. Download the Gostreamer firmware from above.
Step 2. Get an SD memory card that is at least 1GB in size Unzip or extract the downloaded firmware ZIP file to a location on your PC. Once unzipped, you will see you have 3 files. Copy these to your SD memory card.
NOTE: This step of unzipping/extracting the zip file is very important! On a PC, once you have downloaded the file, you should be able to right click on the zip file and choose ‘Extract all’ then choose a location where you want to ‘Extract/unzip’ the files to.
Step 3. You should now have 3 files on your SD card called factory_update_param.aml, gos_k8_t8.zip and recovery.img. (You do not need to unzip the gos_k8_t8.zip now on your card, just leave it as it is)
NOTE: Please ensure that the 3 files are in the root of your SD card, and not stored within a folder on your SD card.
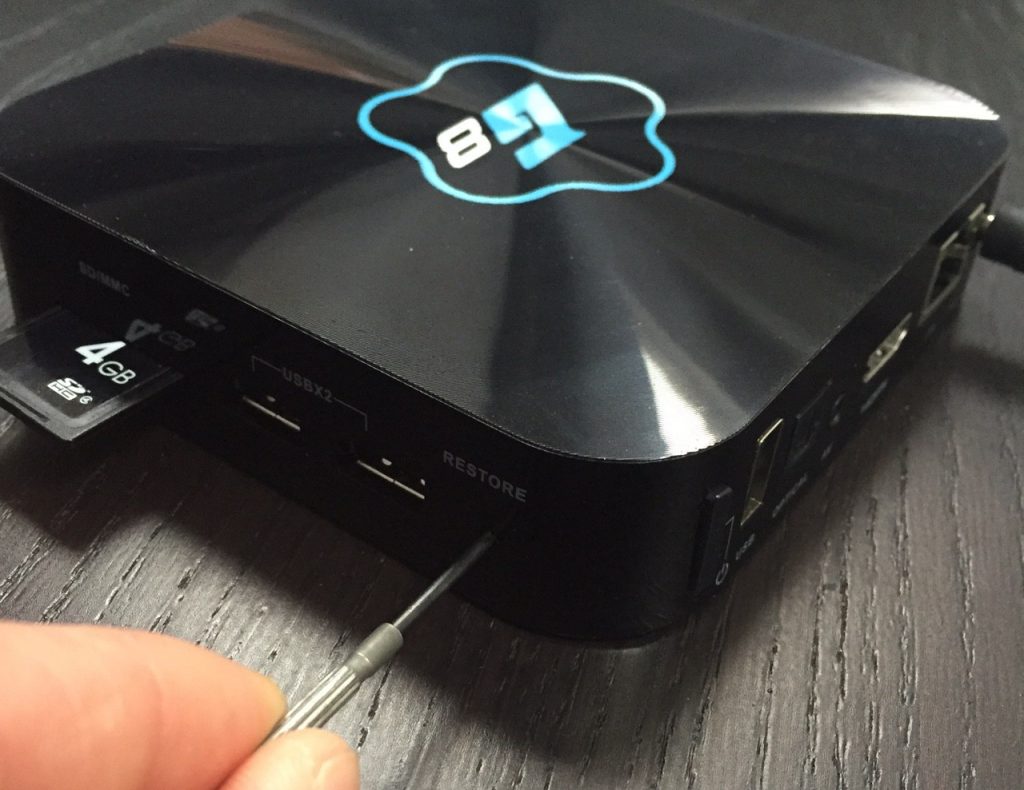
Step 4. Slot your SD card into the box and get yourself a matchstick, wooden toothpick,
thin jewellers screwdriver or a paper-clip. You’ll need this to reset the box.
Step 5. At the side of the box you will see a hole labelled ‘RESTORE’. Inside this hole, at the end, is the reset button (told you you’ll need that toothpick!) Insert your chosen device into the hole and you will feel a clicking button at the end. You will need to press and hold this button in a minute.
Step 6. Ensure you have the HDMI cable plugged in and the power cable plugged in.
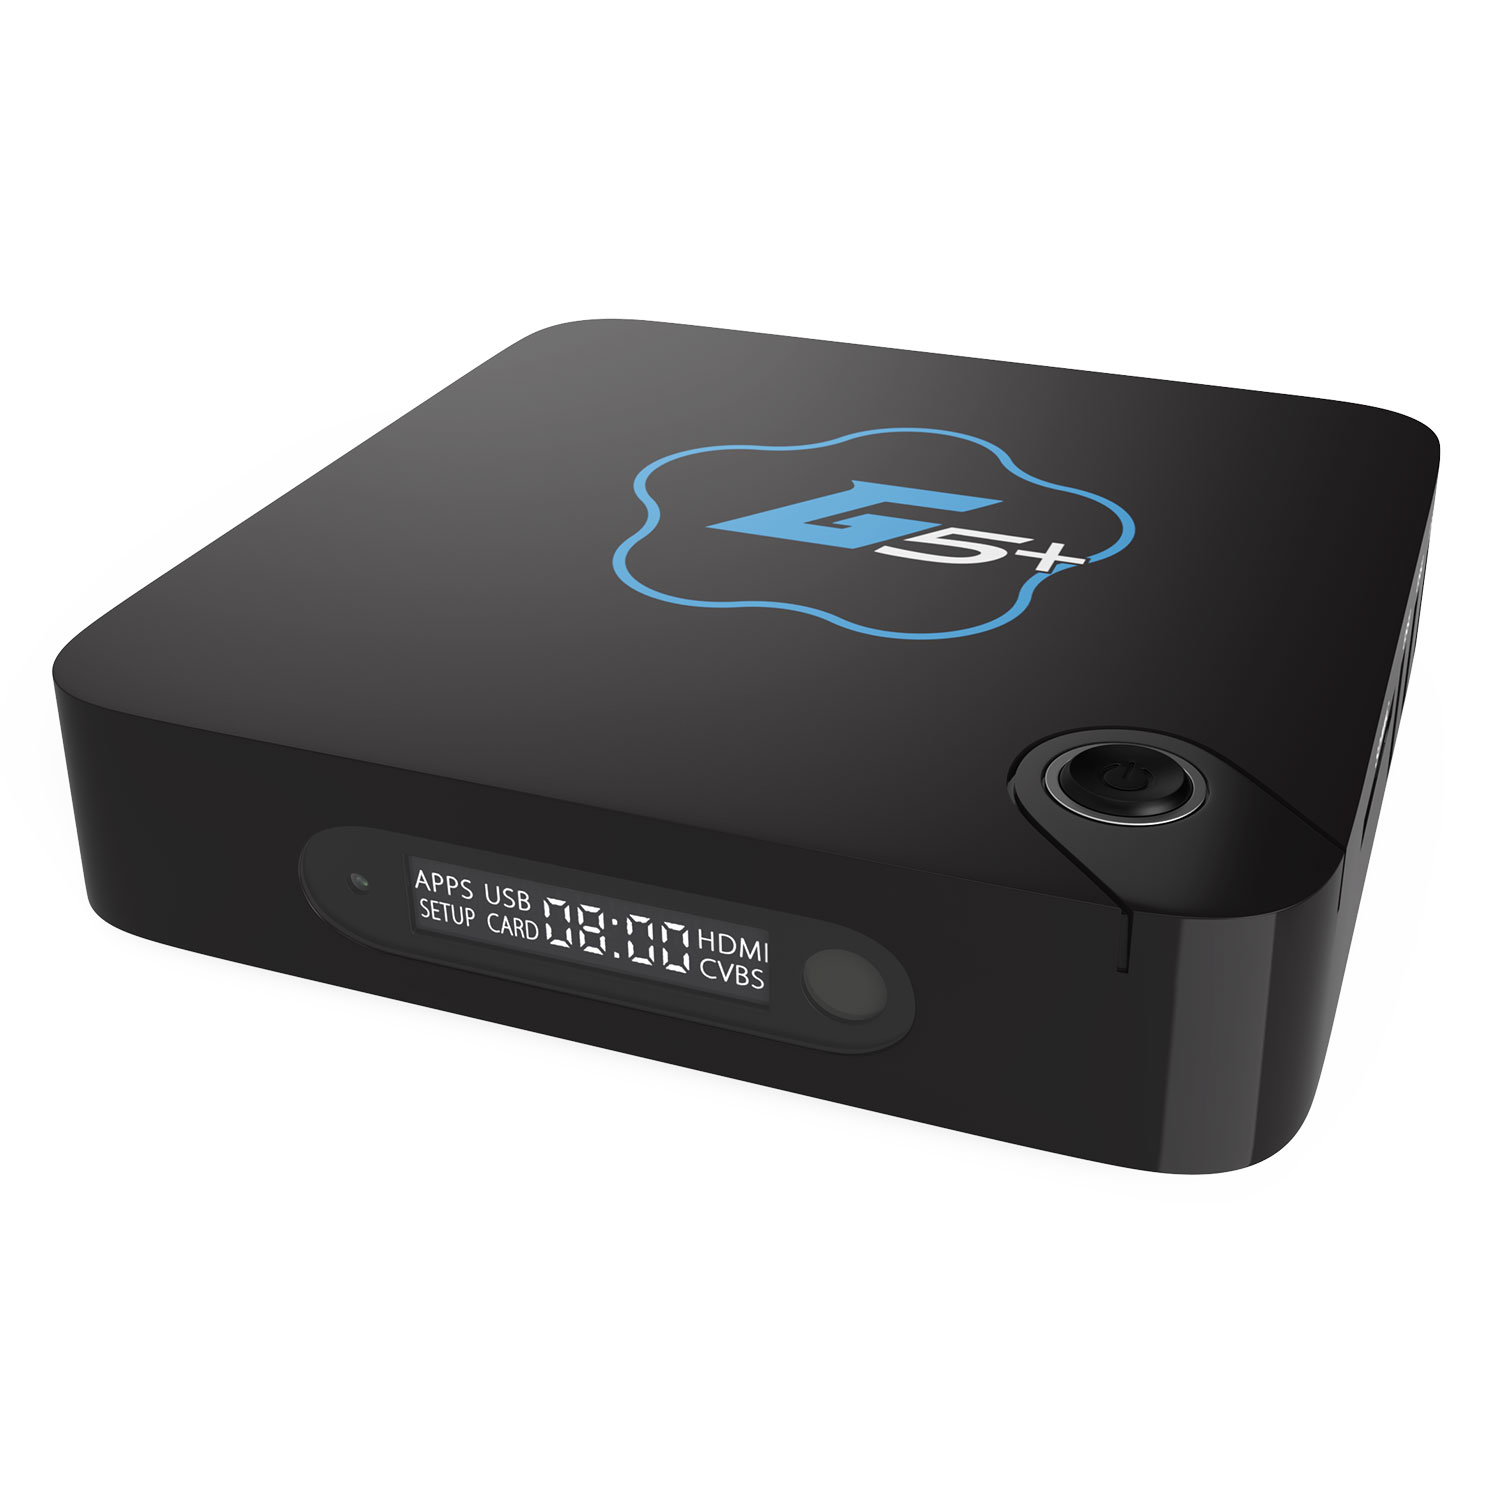
Step 7. Push and hold the restore button and press the power button on the device to turn it on (at rear for G5/G8 on top for G5+), keeping the restore button pressed in during this process!

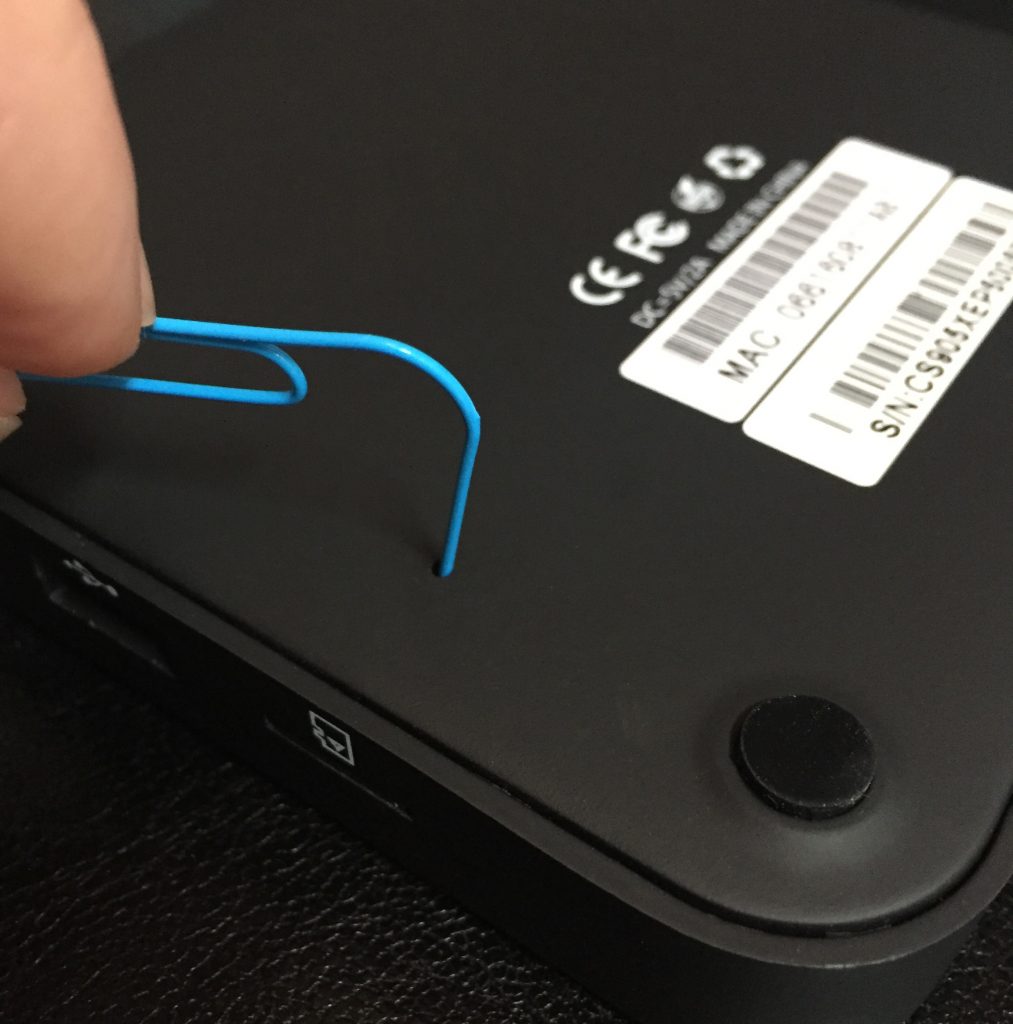
For the TX5 Pro, the reset button is in a tiny hole underneath the unit

Step 8. With the reset button still pressed using your tool, the screen should flash up an opening logo. Keep the reset button pressed until you see the following image of the Android figure stood up:

Step 8. When you see the Android figure like this, you can remove your reset tool from the RESTORE hole (and put it somewhere safe for next time). The progress bar below the Android figure will move to the right for a bit and then after about two or three minutes the box will reboot’.
Step 9. Once rebooted you will see the Gostreamer splash screen. After about a 40 second wait you will see the welcome screen


Many thanks for being able to download firmware, it worked a treat.
No problem. Any other issues, be sure to ask some questions in our forum https://www.gostreamer.com/forum/
[…] click here […]
[…] The firmware can be downloaded from our page here […]
G5+ doesnt have a reset button so cannot manually update software. Also ota updater doesnt work on my box
Just tried to follow above procedure but didn’t seem to get any HDMI output from the box (G8) on restarting with the restore button pressed. Didn’t therefore know whereabouts in the update process it is/was ! Haven’t been able to get anything from the box since – TV doesn’t detect any output – appears box is bricked – any ideas.
Hi All,
I am trying to install the Linux upgrade to my G8 box but I dont have a SD card available .Is there a procedure to carry out the Linux upgrade using a USB stick. Any help appreciated.
Regards, GTUR.
I have a GS-G8 and I have tried to install the firmware v2.0 released in Feb 2017 and I have followed the instructions above, ie using the SD card. The firmware does indeed load but after the install when I then install the kodi I only get a version 16. Is it not possible to get the latest v17, my device GoStreamer G8 Quad Core Android Kit Kat TV Box Media Player 4k Ultra HD WiFi Kodi / XBMC Streamer
I have downloaded this software and extracted it to sd like it says but when I turn on my box it comes up for a command and when I try to extract for sd card it comes up saying read only mount blocked and failed to mount and cannot mount
I need help
Hi, I’m about to try this with a non-responsive G5+ box but I cant see a reset button anywhere (not on the back, sides or underneath).
Is it concealed somewhere else?
Thanks